Jimmy Johns Bread Recipe: How to Make It at Home

Hello, dear readers! Today, I’m excited to share a recipe I’ve been wanting to try for a long time. The bread from Jimmy John’s is famous for its softness, rich flavor, and perfect texture. It’s ideal for sandwiches and subs, and it’s simply amazing with butter or jam. If you, like me, love homemade baking, this Jimmy Johns Bread Recipe will become your new favorite.
This article contains affiliate links, but these recommendations are based on objective product review and experience.
Homemade Jimmy John’s bread
Let’s make this wonderful bread at home together!
Ingredients
To make the best bread for sandwiches, we will need:
- 500 g all-purpose flour (you can use whole wheat or bread flour)
- 300 ml warm water
- 2 tbsp sugar
- 1 tbsp salt
- 2 tbsp olive oil (or vegetable oil)
- 2 tsp active dry yeast (or 20 g fresh yeast)
Possible Ingredient Jimmy John’s bread substitutes
- You can use any flour you choose – for example, oat flour, spelt flour, or a blend of different flours.
- You can substitute my bread recipe with olive oil with vegetable oil, coconut oil, or even melted butter.
- You can use fresh yeast if you don’t have dry yeast, but remember to adjust the quantity.
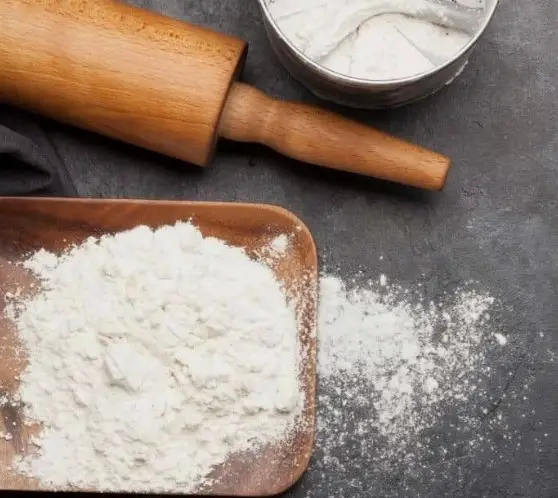
Equipment
To bake the bread, we will need the following equipment:
- Large mixing bowl
- Measuring cups and spoons
- Kitchen scale (for precise measurement of ingredients)
- Wooden spoon or spatula for mixing
- Mixer with dough hooks (optional)
- Loaf pan or baking sheet
- Clean kitchen towel to cover the dough during rising
- Oven
These simple tools will help us make wonderful Jimmy John’s bread that you can be proud of.
Jimmy Johns Bread Recipe: Step-by-Step Instructions
So let’s get started with my easy bread recipe!
Step 1: Preparing the Ingredients
- Measure all the ingredients according to the Jimmy John’s bread recipe.
- Ensure the water is warm but not hot (about 100°F-105°F) to activate the yeast.
- Prepare the bowl, mixer (if using), and loaf pan or baking sheet.
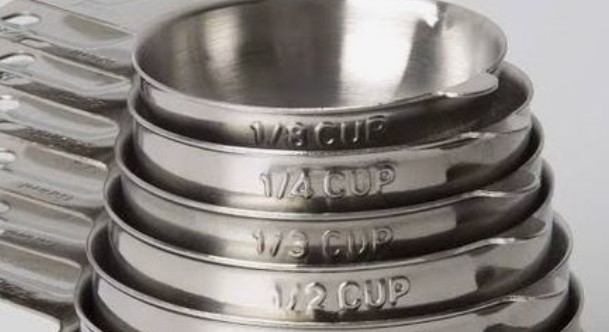
I love the TILUCK Stainless Steel Measuring Cups because they have shapes and sizes for all my meals. This is simply irreplaceable in the kitchen.
Step 2: Mixing the Dough
- I dissolve the sugar in warm water.
- Add the yeast and let it sit for 5–10 minutes until it forms a frothy layer.
- In a large bowl, mix the flour and salt.
- Make a well in the center of the flour and pour in the water with yeast.
- Add the olive oil.
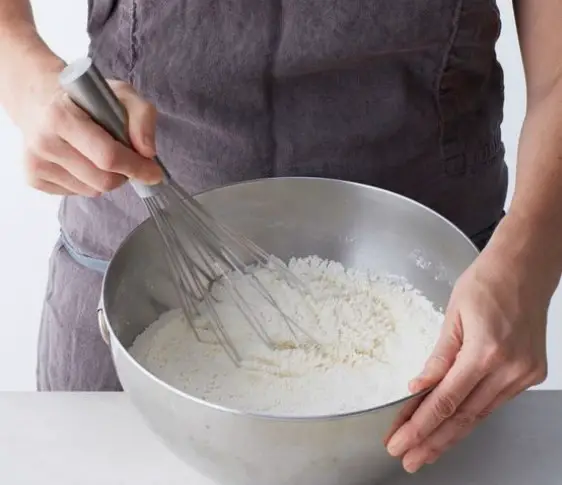
- Mix the dough by hand or using a mixer with dough hooks for 10–15 minutes until the dough becomes elastic and smooth.
Step 3: First Rise
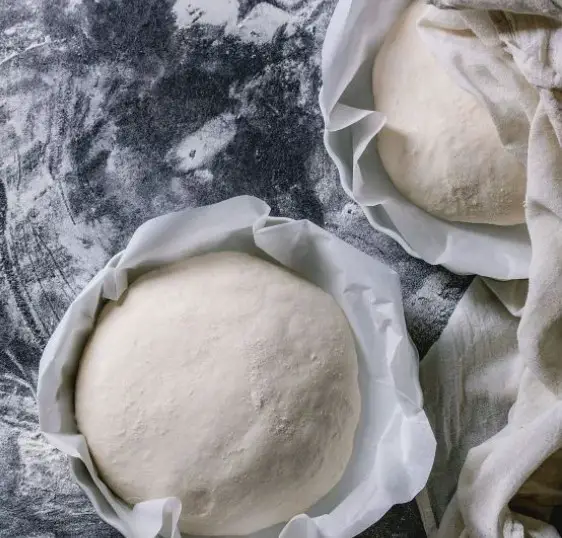
- Transfer the dough to a lightly oiled bowl.
- Cover with a clean kitchen towel and let it rise in a warm place for 1-2 hours until it doubles in size.
Step 4: Shaping the Rolls
- After the first rise, I knead the dough as gently as possible. This is necessary to remove excess air from the dough, but I do it carefully so as not to clog the dough.
- I like small rolls, so I divide the dough into more pieces. If you need a larger loaf, you can make smaller pieces of dough.
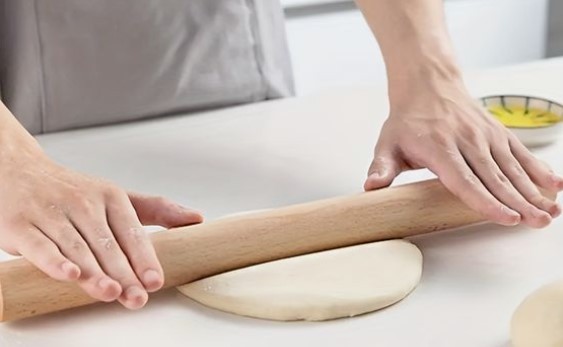
- Next I roll out the dough into long ovals.
Step 5: Second Rise
- Place the shaped rolls on a loaf pan or baking sheet lined with parchment paper.
- Cover with a towel and let them rise for 30-45 minutes for the second rise.
Sometimes I find it easier to cook in a Pyrex Glass Loaf Pan. This way I can see how beautifully my bread is baked.
Step 6: Baking
- Preheat the oven to 375°F.
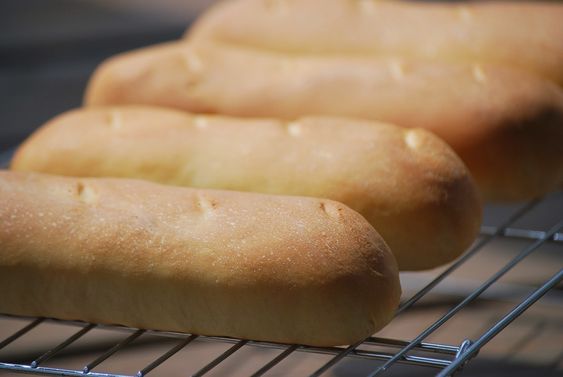
- Bake the rolls for 20-25 minutes until they are golden brown and sound hollow when tapped on the bottom.
Step 7: Cooling and Storing the Bread
- Remove the bread from the oven and let it cool on a wire rack.
- After cooling, the bread can be stored in an airtight container or plastic bag.
Jimmy Johns Bread Recipe: Bread Baking Tips and Tricks
- To achieve perfectly soft bread, ensure you don’t over-dry the dough by adding too much flour. The dough should remain slightly sticky.
- Check the yeast for freshness. Try leaving the dough in a warm place for a longer time.
- You can add seeds (sunflower, flax), dried herbs, or grated cheese to the dough for flavor variety.
Jimmy Johns Bread Serving Suggestions
Jimmy John’s bread is a real delight that can be paired with various ingredients. Here are a few of my favorite ways to serve it:
- Use this bread to make sandwiches with your favorite meats, cheeses, vegetables, and sauces. Try a classic turkey sandwich with avocado and mayonnaise. This is the best bread for sandwiches!
- Toast the bread and serve with avocado, poached egg, and a sprinkle of salt for a healthy breakfast.
- Serve fresh bread with homemade soups or salads for a balanced lunch or dinner.

Jimmy Johns Bread Recipe: How to Make It at Home
Equipment
- Large Mixing Bowl
- Measuring cups and spoons
- Kitchen scale for precise measurement of ingredients
- Wooden spoon or spatula for mixing
- Mixer with dough hooks
- Loaf pan or baking sheet
- Clean kitchen towel to cover the dough during rising
- Oven
Ingredients
- 500 g all-purpose flour you can use whole wheat or bread flour
- 300 ml warm water
- 2 tbsp sugar
- 1 tbsp salt
- 2 tbsp olive oil or vegetable oil
- 2 gr active dry yeast or 20 g fresh yeast
Instructions
- Measure all the ingredients according to the Jimmy John’s bread recipe.Ensure the water is warm but not hot (about 100°F-105°F) to activate the yeast.Prepare the bowl, mixer (if using), and loaf pan or baking sheet.
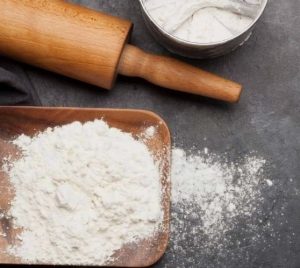
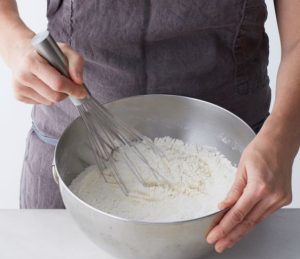
- I dissolve the sugar in warm water.Add the yeast and let it sit for 5–10 minutes until it forms a frothy layer.In a large bowl, mix the flour and salt.Make a well in the center of the flour and pour in the water with yeast.Add the olive oil.Mix the dough by hand or using a mixer with dough hooks for 10–15 minutes until the dough becomes elastic and smooth.
- Transfer the dough to a lightly oiled bowl.Cover with a clean kitchen towel and let it rise in a warm place for 1-2 hours until it doubles in size.
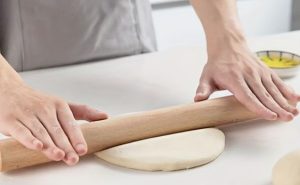
- After the first rise, I knead the dough as gently as possible. This is necessary to remove excess air from the dough, but I do it carefully so as not to clog the dough.I like small rolls, so I divide the dough into more pieces. If you need a larger loaf, you can make smaller pieces of dough.Next I roll out the dough into long ovals.
- Place the shaped rolls on a loaf pan or baking sheet lined with parchment paper.Cover with a towel and let them rise for 30-45 minutes for the second rise.
- Preheat the oven to 375°F.Bake the rolls for 20-25 minutes until they are golden brown and sound hollow when tapped on the bottom.
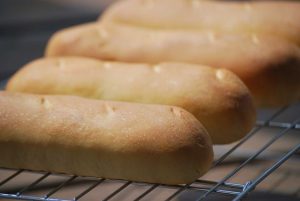
- Remove the bread from the oven and let it cool on a wire rack.After cooling, the bread can be stored in an airtight container or plastic bag.
Nutrition
FAQs
What if the dough doesn’t rise?
Check the freshness of the yeast. It might have lost its activity. Try leaving the dough in a warm place for a longer time.
Can I use different flour in Jimmy Johns Bread Recipe?
Yes, you can use any flour you like, but the result may vary slightly in texture and taste. This Jimmy John’s bread recipe is quite versatile.
How do I store the bread to keep it fresh?
Store the bread in an airtight container at room temperature for up to 3 days, in the fridge for up to a week, or in the freezer for up to 3 months.
What texture should the dough have?
The dough should be soft and slightly sticky. Avoid over-drying it by adding too much flour.
Can I use fresh yeast instead of dry yeast in this Jimmy Johns Bread Recipe?
Yes, you can. Use 20 g of fresh yeast instead of 2 tsp of dry yeast.
Can I freeze the dough in this Jimmy Johns Bread Recipe before baking?
Yes, you can freeze the dough after the first rise. When you’re ready to bake, let it fully thaw and rise for the second time before baking. This is a great Jimmy John’s bread substitute method if you want to prepare in advance.
How do I know when the Jimmy John’s bread is done?
The bread should be golden brown and sound hollow when tapped on the bottom. The internal temperature should reach 190°F.
How long does the whole Jimmy John’s bread step-by-step process take?
The entire process, including the rising times, takes about 2-3 hours. The active preparation time is about 30 minutes. It’s an easy bread recipe to follow!
Can I add extra ingredients to the dough in Jimmy Johns Bread Recipe?
Yes, you can add seeds, dried herbs, grated cheese, or even olives for a flavor twist.
Can I knead the dough by hand if I don’t have a mixer?
Absolutely! While a mixer can make the process easier, hand kneading works perfectly fine. Just knead the dough until it becomes elastic and smooth.
Conclusion
Making homemade bread is not only a fun culinary adventure, but also a way to treat yourself and your loved ones with a delicious, aromatic product. We have walked through all the steps to make Jimmy John’s bread together, and now you know all the secrets to creating this wonderful bread.
Don’t be afraid to experiment with ingredients and methods, adding your favorite flavors and aromas. Homemade bread always has a special taste and warm emotions.
Dear readers, I am very curious to know how this Jimmy John’s bread recipe turned out for you! Please leave your reviews and share your tips in the comments. If you have any questions during the preparation, feel free to ask – I’m happy to help.
Try making this Jimmy John’s bread recipe at home. I’m sure it will become your favorite! Enjoy and see you at our next culinary meeting!

My name is Ania, and I am very glad to see you here. I have always loved cooking; even some of my earliest memories are flipping through a cookbook and making pudding standing on a stool because I was too small to reach the stove.
You should know that I am not a professionally trained chef, just a big food lover who grew up in a family obsessed with cooking and focused on what we eat.

Making Jimmy Johns bread at home was not only fun but also a rewarding experience. The aroma that filled my kitchen was absolutely delightful!
Thank you for bringing a bit of my favorite sandwich shop into my kitchen. Can’t wait to explore more of your recipes!
My family couldn’t believe I made this bread myself. They’re already asking when I’ll make it again!
I’m impressed by how close this recipe gets to the original. It’s like having a little taste of Jimmy John’s at home.
Homemade always tastes better, and this Jimmy Johns bread recipe proves it!
The ingredients were easy to find and the directions were straightforward. I’ll definitely be making this again.
I love how versatile this bread is—perfect for sandwiches, toast, or just enjoying on its own.
This recipe allowed me to enjoy my favorite sandwiches without having to leave the house. Thank you for sharing!
I appreciate the tips on achieving that signature chewy texture. It made a huge difference in how authentic the bread tasted.
The pictures and tools really helped guide me through each step of making the Jimmy John’s bread. It turned out perfectly!
Wow, I never thought making Jimmy John’s bread at home could be so achievable! Thanks for breaking down the process in such a clear and detailed manner.
This Jimmy Johns bread recipe is a game-changer! I’ve always loved their sandwiches, and now I can enjoy that same fresh-baked taste right in my own kitchen. Thank you Ania for sharing this amazing recipe!
Thank you for sharing this Jimmy John’s bread recipe! It’s fantastic to have the ability to enjoy this iconic sandwich bread at home. The instructions were clear, and the results were delicious!
Wow, this Jimmy John’s bread recipe exceeded my expectations! It’s simple, foolproof, and produces bread that tastes amazing. My family couldn’t get enough of it!
I’m so glad I found this Jimmy John’s bread recipe! The bread turned out just like the ones at the store—soft inside with a perfectly crispy crust. It’s definitely going to be a regular in my baking rotation.
This Jimmy John’s bread recipe is a game-changer! I’ve always loved their sandwiches, and now I can recreate that fresh, chewy goodness right in my own kitchen. Thanks for making it so easy!
This Jimmy Johns bread recipe is fascinating! It perfectly captures the essence of their signature sandwich bread, delivering that iconic texture and flavor right from my oven.
I was intrigued by the technique used in this Jimmy Johns bread recipe. The step-by-step guide made it easy to replicate their famous bread at home with impressive results.
What an interesting recipe! Learning how to make Jimmy John’s bread from scratch has not only been fun but also incredibly rewarding. The bread tastes just like the original!
I found the science behind this Jimmy John’s bread recipe particularly interesting. Understanding how each ingredient contributes to the final product made the baking process even more enjoyable.
I’m so glad I stumbled upon your Jimmy John’s Bread recipe! The instructions were clear, and the bread turned out wonderfully—soft inside with a crispy crust, just like I love it.
The Jimmy John’s Bread recipe you provided is spot-on! I followed your steps and achieved a bread that tasted just like what I get at the store. Thanks for making it so easy to recreate this favorite at home!
I’m so excited about this Jimmy John’s Bread recipe! Following your instructions, I made bread that’s as good as what I get at the store. Thanks for making it easy to enjoy this favorite at home!
This Jimmy John’s Bread recipe is fantastic! Following the steps, I was able to make bread that tasted just like the real thing. The texture and flavor are spot on, making it perfect for sandwiches. Highly recommended for any bread lover!
I’m thrilled with this Jimmy John’s Bread recipe! The instructions were clear, and the bread turned out with that perfect texture and flavor we all love. It’s now a staple in our home baking.